Sleep Testing

In Lab Testing 

Your Sleep Testing

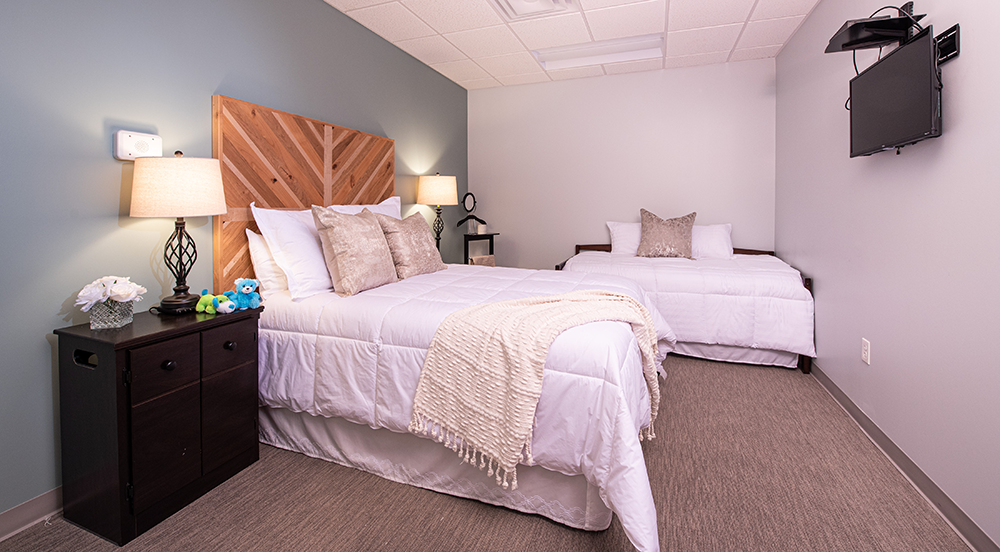
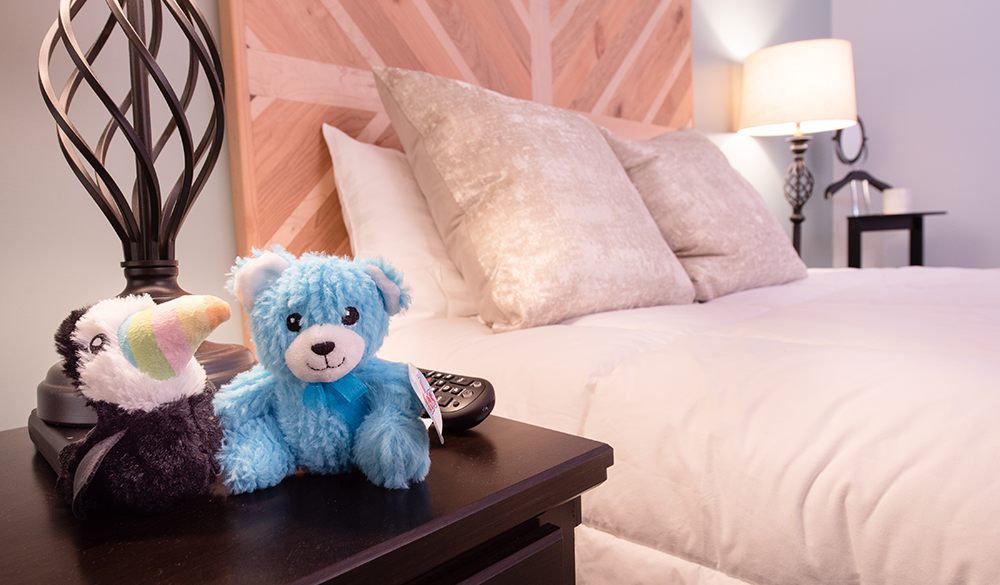
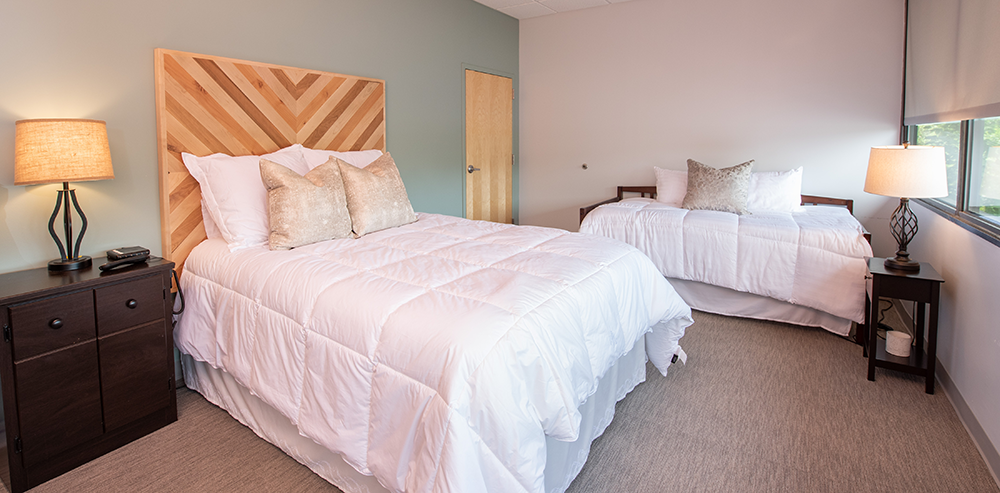
FusionSleep® offers a state of the art sleep center for sleep testing. The most common sleep test is called a Polysomnogram (PSG). A PSG is performed during an overnight stay at our facility, but can also be conducted during the day for shift workers.

Our facility is designed to make your stay comfortable and relaxing in a hotel-like environment, and our sleep medicine program is nationally accredited by the American Academy of Sleep Medicine (AASM). At FusionSleep®, we not only meet these standards, we surpass all national expectations and serve as a model for the future of sleep medicine programs.

Selecting Your Treatment Options

The next step is to review your test results. Typically this would be done during a follow-up visit with one of the specially trained sleep medicine clinicians. All test results are carefully reviewed by our professional staff, and interpreted by board-certified sleep medicine physicians. Based on your results and the recommendation of your clinician, you will decide what therapy option you wish to pursue.

Healthcare Insurance Plan Benefits

We participate in and accept all major and most smaller health care insurance plans. Please call our Patient Advocate team at 678.990.3962 with additional questions. Patients are responsible for knowing their benefits, making sure their insurance covers FusionSleep® fees and making necessary payments.


At Home Testing 

FusionSleep makes conducting a sleep test at home easy. We'll mail you all the materials you need for a successful sleep study, along with easy-to-follow instructions. Below is an overview of how the at-home testing works.

If you are using a home sleep apnea test (HSAT) and have a medical emergency, you should call 911 immediately.

Step 1: Unpack your HSAT Device

KIT CONTENTS:

  • T3 home sleep apnea testing device - HSAT (qty: 1)

  • Abdomen cable (qty: 1)

  • Wrist oximeter (with Velcro strap) and finger probe (qty: 1)

  • Belts - thoracic and abdominal (qty: 2)

  • Nasal cannula (qty: 1)

  • Instruction booklet (qty: 1)

  • Tape or adhesive bandages - if applicable


Step 2: Attaching the HSAT Device
Attach the alligator clips from the T3 HSAT device close to the collar of your shirt. The T3 HSAT device should be over your chest and facing outward.


Step 3: Attaching the HSAT Belts
If it is not already connected, snap the abdomen cable to the back of the T3 HSAT device (the 2 vertical snaps in the middle). Wrap the thoracic belt around your chest and snap each end of the belt to the 2 remaining snap locations on the back of the T3 HSAT device (left & right of the abdomen cable). The thoracic belt should be positioned 1 inch below your armpits.


Step 4: Attaching the Abdominal Belt
Wrap the abdominal belt around your waist. Connect the abdominal belt to the corresponding snaps on the abdomen cable that is hanging from your T3 HSAT device. The snaps should be on the inside (against your stomach) with the flat side facing outward. The abdominal belt should be positioned over your belly button. If the cable is too long, it can be shortened by winding the abdomen cable a few times around itself.


Step 5: Attaching the Nasal Cannula
Gently, place the prongs of the nasal cannula into your nostrils. The cannula tubing should be pulled over your ears and positioned under the chin. To tighten the tubing, slide the fastener up and securely under your chin. The other end of the nasal cannula should be connected to the pressure input on the side of the T3 HSAT device. Take 2 pieces of tape (or adhesive bandages) and place them on both cheeks (over the tubing) to assist in holding the cannula in place for the duration of the test.


Step 6: Attaching the Pulse Oximeter
The pulse oximeter should be strapped to your non-dominant hand - like a wrist watch. Nail polish or artificial nails should be removed prior to attaching the finger probe. The finger probe should be placed on the index finger or ring finger. The finger should reach the end of the probe. To secure the cable, wrap tape or an adhesive bandage over the probe cable so that it is attached to the base of your finger.


Step 7: Overview of the Setup
All of the sensors should now be attached. Check to ensure that all of the steps above have been completed properly.


Step 8: Starting the Recording
To start recording, press once on the middle button of the T3 HSAT device front panel. This will activate the screen. You will see the instruction “Hold middle button down to start recording.” Press and hold the middle button until the progress bar is finished and you see the time counter begin. Once the time counter has started, the test is successfully recording. The display will turn off after 40 seconds. However, the T3 HSAT device will continue to record.


Step 9: Stopping the Recording
To stop the recording after waking up, press once on the middle button of the T3 HSAT device. This will activate the screen. Then, hold down the middle button until the progress bar appears and stops the counter. This indicates that the recording has been stopped.


Step 10: Returning the Device
Please do not discard any of the equipment or items that were received in the carrying case. Place all of the items back into the carrying case and return the entire home sleep testing device back to FusionSleep®. The device must be returned in the same manner it was received (i.e. shipping or in-office) the following day.